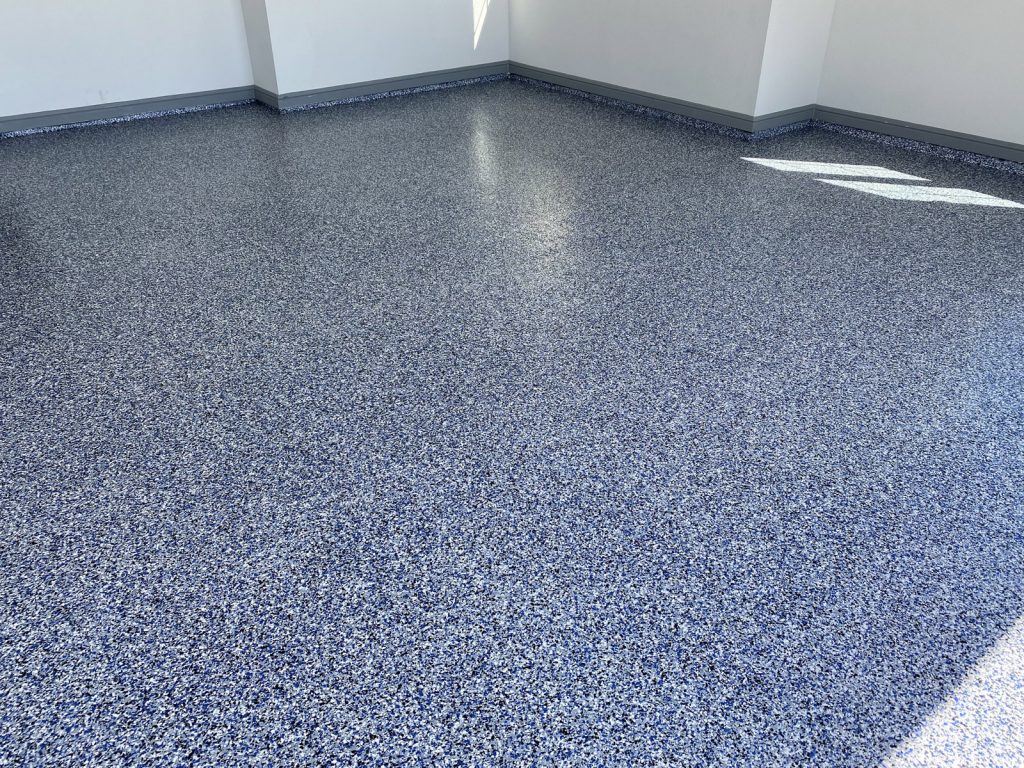
If you love clean lines, gallery-level light, and surfaces that feel intentional from wall to wall, epoxy flooring is a modernist’s best friend. Unlike tile or plank floors that break a room into grids, epoxy creates a continuous plane—quiet, reflective, and sculptural—so your furniture and art do the talking.
For clients who want spaces that feel curated yet livable, epoxy offers a rare blend of beauty and performance. It delivers customizable color, depth, and sheen while standing up to daily life—spills, pets, and high foot traffic. Below, explore the looks you can achieve, where epoxy shines, what installation involves, how to care for it, and a concise comparison to stained and polished concrete.
Why Epoxy Belongs in Modern Interiors
Epoxy floors delivers a seamless aesthetic that supports modern, minimalist design. Its film-build surface creates a smooth, continuous plane that reflects light and visually expands space. With a wide range of pigments and effects, epoxy can read as quietly architectural or confidently expressive, all while offering excellent resistance to stains, moisture, and daily wear.
- Seamless minimalism with no grout lines or visual noise
- Depth and light control from satin to high-gloss
- Highly customizable color and effects
- Durable, non-porous, and hygienic surface
Epoxy Aesthetics: The Looks You Can Achieve
From monochrome serenity to artful movement, epoxy offers a versatile palette of finishes. Solid-color systems anchor a room with calm continuity, while metallic epoxies introduce fluid, stone-like veining that feels luxurious without clutter. You can also layer design elements—like a stained base under clear epoxy or terrazzo chips encapsulated for a contemporary twist.
- Solid color sophistication for minimalist spaces
- Metallic marbling for subtle, sculptural movement
- “Under-glass” look with stain beneath clear epoxy
- Terrazzo-in-epoxy using marble or recycled glass chips
- Micro-flake textures that hide dust while staying refined
- Brass or aluminum inlays to define subtle borders
Where Epoxy Shines at Home
Epoxy excels in high-use, design-forward areas. In kitchens and entries, its non-porous surface shrugs off spills and grit. In living rooms and studios, gloss finishes amplify daylight and add drama; satin reads quietly architectural. For garage-to-gallery conversions, specialty topcoats resist UV and chemicals while delivering showroom polish.
- Kitchens and dining for easy cleanup and hygiene
- Living rooms and galleries to maximize light and impact
- Entries and mudrooms with discreet traction additives
- Garages, gyms, and studios with UV-stable, chemical-resistant topcoats
Design Considerations
Planning the right sheen, color temperature, and traction keeps the look elevated and practical. Gloss reads liquid and dramatic; satin or matte hides micro-scratches and feels softer. Always sample colors in your actual lighting, as some resins can warm tones. For safety, fine traction media preserves elegance without a gritty feel. Subtle tone shifts or slim metal inlays can delineate zones in open plans.
- Choose sheen intentionally: gloss for drama, satin/matte for softness
- Sample colors under your real lighting to confirm undertones
- Add micro-beads or aluminum oxide for discreet slip resistance
- Use tone shifts or thin inlays to zone without walls
Installation 101: What to Expect
A successful epoxy floor starts with meticulous prep. Contractors mechanically grind or shot-blast to open the concrete’s pores, repair cracks, and test for moisture. After priming, the body coat builds color and depth; this is where metallic effects or chips are introduced. A UV-stable urethane or polyaspartic topcoat sets the final sheen and durability.
- Prep and moisture testing, then grinding/repairs
- Primer to improve bond and reduce pinholes
- Body coat for color/effects; optional chips or inlays
- UV-stable topcoat for scratch and UV resistance
- Typical timeline: 2–4 days; light traffic in 24–48 hours, full cure ~5–7 days
Care and Longevity
Day-to-day upkeep is simple. Use a neutral pH cleaner and a microfiber mop; avoid harsh solvents and abrasives. Protect feet of furniture with felt pads and lift heavy items rather than dragging. In busy zones, plan for a maintenance re-coat of the topcoat every three to seven years to restore gloss and protection.
- Neutral pH cleaning and microfiber mopping
- Felt pads under furniture; avoid abrasive pads
- Maintenance re-coat of the topcoat as needed (3–7 years)
How Epoxy Compares to Stained and Polished Concrete
Epoxy, stained concrete, and polished concrete each bring distinct strengths. Epoxy offers the most customization and a non-porous, hygienic surface that’s easy to refresh with a new topcoat. Stained concrete floor delivers translucent, organic character but relies on a sealer and periodic resealing. Polished concrete celebrates raw material honesty with mechanical sheen and low added materials, though it can be more sensitive to acids and moisture.
- Epoxy: Seamless, customizable, and highly durable; ideal for kitchens, entries, playrooms, gyms, and garage-to-gallery spaces.
- Stained concrete: Earthy, variegated, matte-to-satin character; great for living areas and bedrooms with a warm-modern feel.
- Polished concrete: Raw, architectural finish with mechanical sheen; perfect for lofts and galleries favoring minimal, honest materials.